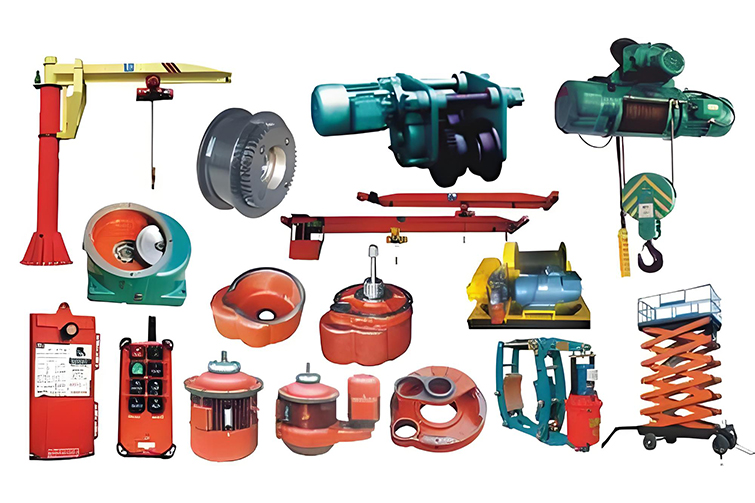

Как заменить подъемный зажим на кране
Подъемные зажимы являются важными компонентами крана, предназначенными для надежного удержания и подъема тяжелых грузов. Со временем подъемные зажимы могут изнашиваться, повреждаться или нуждаться в замене для выполнения различных подъемных задач. Правильная замена подъемного зажима обеспечивает безопасность и эффективность работы крана. В этом руководстве изложены основные шаги и соображения по замене подъемного зажима на кране.
1. Поймите необходимость замены
Перед заменой подъемного зажима оцените необходимость замены:
- Износ и разрыв : проверьте наличие видимых признаков износа, таких как трещины, деформация или коррозия.
- Изменения грузоподъемности : замените зажимы, если для нового подъема требуется другая емкость или тип.
- Нормы безопасности : Убедитесь, что зажим соответствует обновленным стандартам и правилам безопасности.
2. Соберите необходимые инструменты и оборудование
Перед началом соберите инструменты и оборудование, необходимые для замены:
- Новый подъемный зажим с соответствующими спецификациями.
- Ключи, розетки или другие инструменты, необходимые для отсоединения старого зажима.
- Защитное оборудование, такое как перчатки, шлемы и ремни безопасности.
- Надежная платформа или лестница, если зажим приподнят.
3. Подготовьте кран и рабочее пространство
Для обеспечения безопасного и плавного процесса замены:
- Отключите кран : отключите электропитание крана, чтобы предотвратить случайные движения.
- Защитите рабочее пространство : заблокируйте область, чтобы избежать несанкционированного доступа и потенциальных аварий.
- Осмотрите новый зажим : Убедитесь, что сменный зажим соответствует требованиям к загрузке крана и не имеет дефектов.
4. Снимите старый подъемный зажим
Выполните следующие действия, чтобы безопасно снять существующий подъемный зажим:
- Отпустите нагрузку : убедитесь, что кран не удерживает груз и подъемный зажим не находится под напряжением.
- Отсоедините застежки : используйте соответствующие инструменты для ослабления и удаления болтов, винтов или штифтов, закрепляющих зажим на крюке крана или подъемном механизме.
- Аккуратно снимите зажим : снимите старый зажим с крана, обеспечив его аккуратное обращение, чтобы избежать травм или повреждений окружающего оборудования.
5. Установите новый подъемный зажим
6. Выполните проверки безопасностиПосле установки нового зажима выполните следующие проверки:
- Осмотрите крепежные элементы : убедитесь, что все крепежные элементы надежно затянуты.
- Проведите испытательный подъемник с нагрузкой в пределах возможностей зажима для обеспечения надлежащего функционирования.
- Проверьте движения : Наблюдайте за движением крана с помощью нового зажима, чтобы убедиться, что нет необычных шумов, вибраций или смещений.
7. Операторы поезда
Если новый подъемный зажим отличается от предыдущего, убедитесь, что операторы крана обучены его правильному использованию, включая:
- Процедуры крепления груза.
- Безопасные углы подъема и ограничения нагрузки.
- Аварийные процедуры в случае отказа зажима.
8. Поддерживайте новый зажим
Для максимального увеличения срока службы нового подъемного зажима и обеспечения безопасности:
- Регулярно проверяйте зажим на наличие признаков износа или повреждений.
- Очистите зажим для удаления грязи, смазки и другого мусора.
- Смазывайте движущиеся части (если применимо) в соответствии с рекомендациями производителя.
Заключение
Замена подъемного зажима на кране - это простой процесс, если он выполняется осторожно и методично. Следуя этим шагам и уделяя приоритетное внимание безопасности, вы можете обеспечить надежное функционирование нового зажима и повысить эффективность работы крана. Регулярное техническое обслуживание и соблюдение норм безопасности дополнительно продлит срок службы подъемного зажима и защитит работников от потенциальных опасностей.


